- Published on
System Design: Build a Server Side Cache
- Authors
- Name
- Loi Tran


Introduction
Design a backend API which caches client responses for subsequent requests.
In this post we'll create a simple API endpoint, /data, which serves either fresh or cached data depending on how recently this data was queried.
We'll use Flask & Redis to accomplish this task.
Overview
- Setup Project Repo.
- Install Dependencies.
- Define REST API which serves cached responses.
- Run Redis & Server.
- Check Results.
Implementation
1. Setup Project Repo
mkdir system_design_api_cache
cd system_design_api_cache

python3 -m venv venv
source venv/bin/activate
2. Install Dependencies
pip3 install flask redis
3. Define REST API serving cached responses
- 3a. Initialize Cache using Redis:
- First we initialize a Redis cache on line
7.
- First we initialize a Redis cache on line
- Define
cache_key()which uses the full path of the route as a key on lines11-13.
- Define
- Store values in cache using the hashed path/key from line
18on line22.
- Store values in cache using the hashed path/key from line
- Set the expiration datetime of this cache entry on line
23.
- Set the expiration datetime of this cache entry on line
- 3b. Respond from Cache if possible:
- Use
cache.hgetall(key)method to check the cache to use as a response.
- Use
- If
cached_responseexists then response with that instead of a newly queried database response.
- If
from flask import Flask, request, jsonify
import redis
import hashlib
from datetime import datetime

app = Flask(__name__)
cache = redis.StrictRedis(host="localhost", port=6379, db=0, decode_responses=True)

CACHE_TIMEOUT = 5

def cache_key():
    key = request.full_path
    return hashlib.sha256(key.encode()).hexdigest()


@app.route("/data", methods=["GET"])
def get_data():
    key = cache_key()

    data = {"message": f"Hello, this is fresh data at {datetime.now().isoformat()}"}
    timestamp = datetime.now().isoformat()
    cache.hmset(key, {"message": data["message"], "timestamp": timestamp})
    cache.expire(key, CACHE_TIMEOUT)
    return jsonify(
        {
            "source": "database",
            "data": data["message"],
            "cached_at": timestamp,
            "expires_in_seconds": CACHE_TIMEOUT,
        }
    )


if __name__ == "__main__":
    app.run(debug=True)
  @app.route("/data", methods=["GET"])
      def get_data():
      key = cache_key()
      cached_response = cache.hgetall(key)

      if cached_response:
          cache_timestamp = cached_response["timestamp"]
          expiration_time = (
              CACHE_TIMEOUT
              - (datetime.now() - datetime.fromisoformat(cache_timestamp)).seconds
          )

          return jsonify(
              {
                  "source": "cache",
                  "data": cached_response["message"],
                  "cached_at": cache_timestamp,
                  "expires_in_seconds": max(expiration_time, 0),
              }
          )

      data = {"message": f"Hello, this is fresh data at {datetime.now().isoformat()}"}
      timestamp = datetime.now().isoformat()
      cache.hmset(key, {"message": data["message"], "timestamp": timestamp})
      cache.expire(key, CACHE_TIMEOUT)
      return jsonify(
          {
              "source": "database",
              "data": data["message"],
              "cached_at": timestamp,
              "expires_in_seconds": CACHE_TIMEOUT,
          }
      )
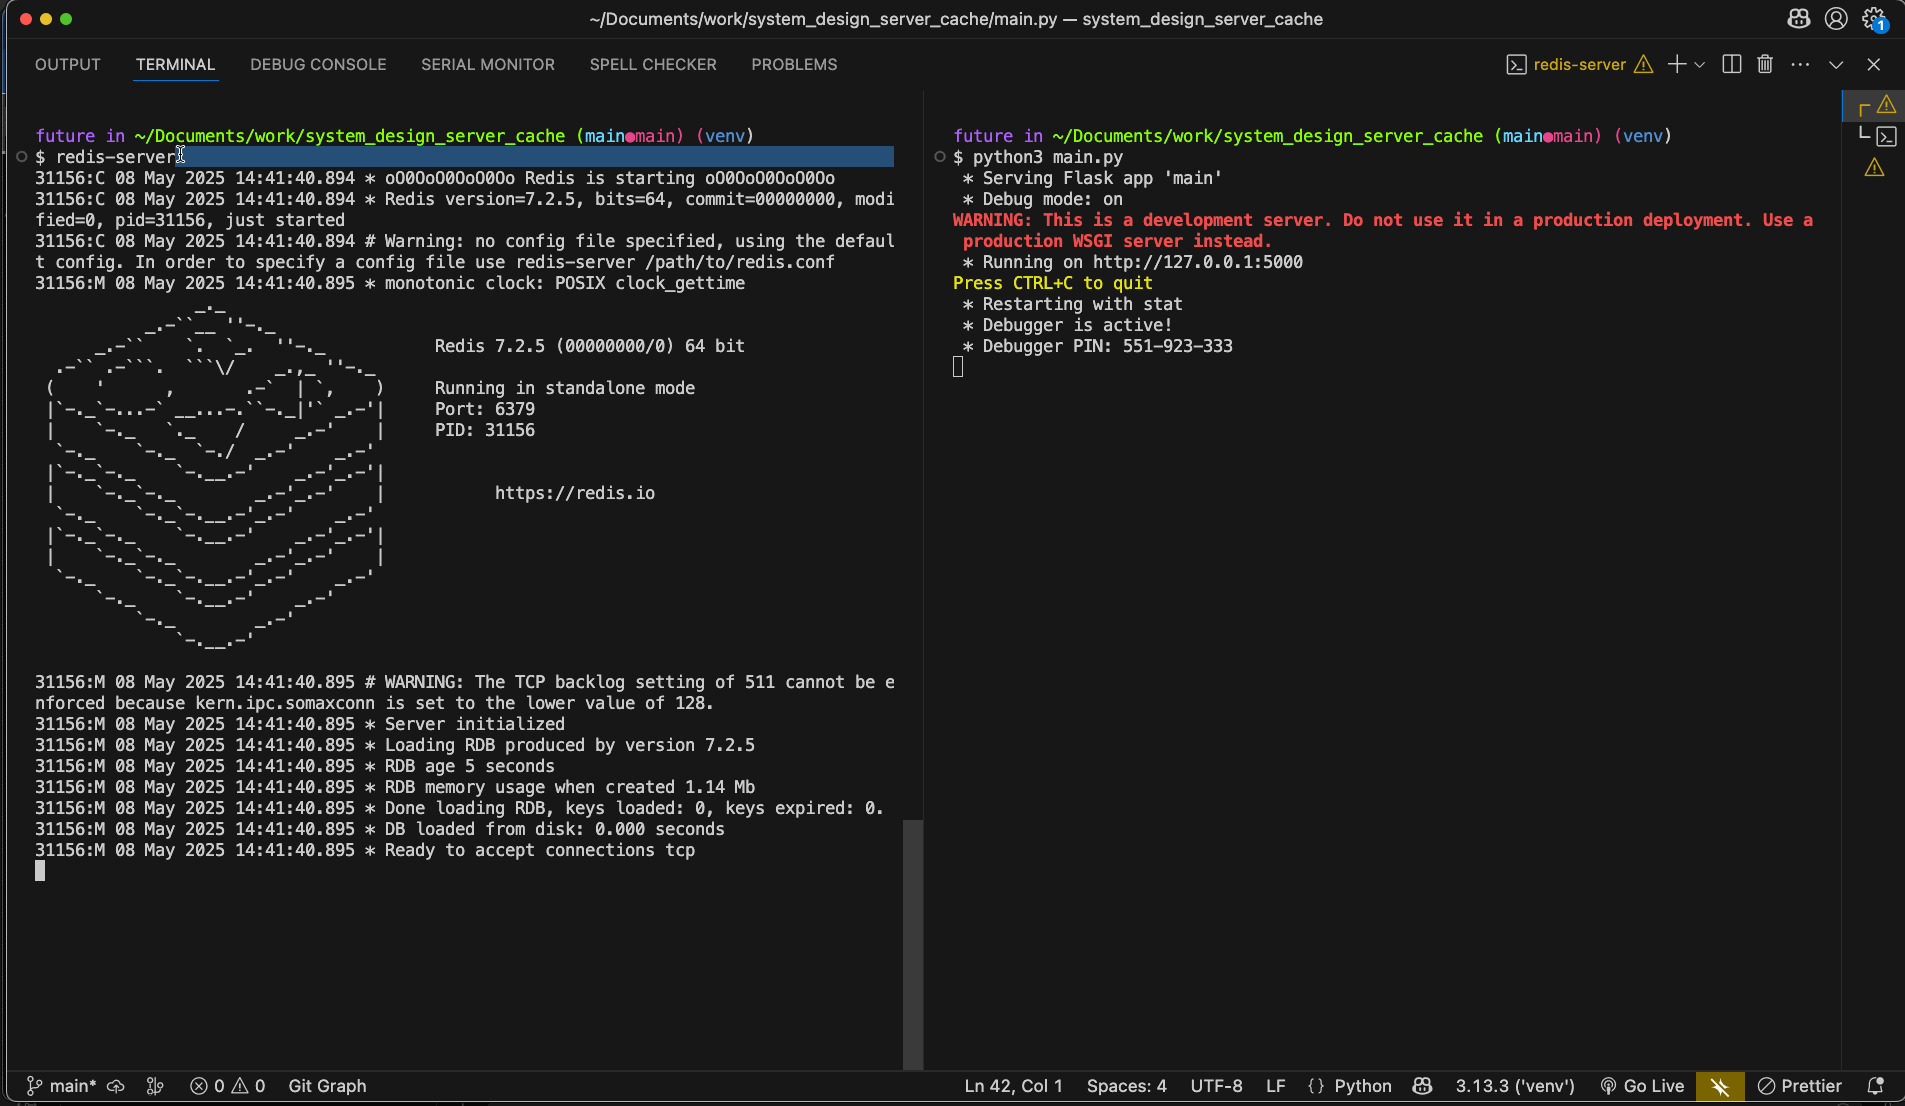
4. Run Redis & Server
redis-server
python3 main.py
5. Check Results
Open browser and navigate to http://127.0.0.1:5000/data and investigate the JSON response your server gives you.
You should notice a few things:
- If you navigate to the
dataroute you sometimes get a database sourced response and sometimes a cache. - If you navigate to the
dataroute with query string params, appending?foo=barfor example, you'll get newly cached responses.
Conclusion
Redis is a simple key-value data store which can easily handle 1 million read/write operations per second with sub-millisecond latency.
For data we want to cache we append to the Redis cache/database an object under a key of our choosing.
In this case we used a sha256 from Python's hashlib lib. However you don't have to use that algorithm and can use your own.
The cache was wrapped by a minimal Flask REST API which you can learn how to create in this Flask API tutorial.